Do-it-yourself ultraviolet flashlight
Not so long ago, fluorescent lamps with the appropriate spectrum served as an accessible source of ultraviolet light. Their linear dimensions, the need to use ballasts, and the supply voltage of 220 V did not allow the construction of compact, mobile, low-power UV sources. The advent of light emitting diodes operating in the UV section has dramatically changed the situation, and now you can make an ultraviolet flashlight yourself.
The device and scope of the ultraviolet flashlight
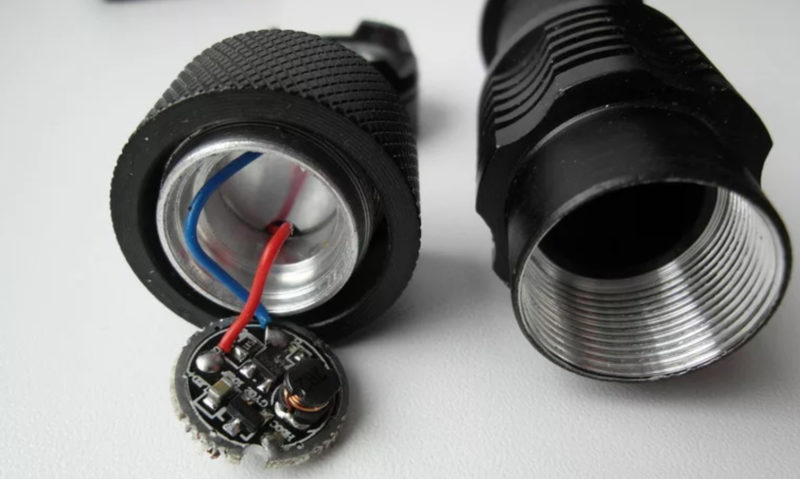
The device of a flashlight is simple. It contains almost the same elements as the regular one:
- emitting element (LED);
- source of power;
- housing (with or without a reflector in the reflector);
- driver (a lamp with an incandescent lamp does not have it).
The UV emitter has a wide range of applications:
- to detect counterfeit paper banknotes and documents;
- to search for biological material (urine of animals, traces of blood, etc.);
- for entertainment purposes - many objects when illuminated by UV rays have an unusual color;
- for curing some adhesives;
- such a lantern will help with the search for amber on the seashore (you should study the legislation in this area);
- for simple home flaw detection (although more powerful emitters are used in production).
You can buy a device in a store or via the Internet, but with a minimum qualification, it is absolutely easy to design an ultraviolet flashlight for personal purposes with your own hands.
How to make your own UV flashlight
The easiest way to make a UV lamp is to take an LED visible light and replace the emitting elements with ultraviolet ones. You can buy them in a radio parts store or on the Internet. It is necessary to pay attention to two important parameters: operating voltage and maximum forward current. For some common LED types, these characteristics are shown in the table:
| LED type | BL-L189VC | GNL-3014VC | BL-L522VC | SMD 3528 | SMD 1206 |
| U slave, B | 3,8 | 3,5 | 3,8 | 3,6 | 3,6 |
| I pr, mA | 30 | 20 | 20 | 60 | 20 |
By voltage, the element is selected simply - the LEDs must be assembled in a serial chain, the operating voltages are summed, and the total value should not exceed the voltage of the power source. So, with four AA or AAA elements installed, the output value will be 1.5x4 \u003d 6 V and the maximum number of one and a half volt LEDs will be 4 pcs.
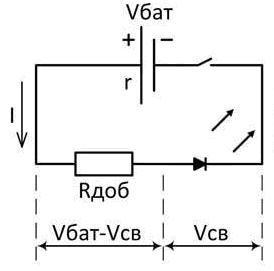
Current is a little more difficult. It should be limited to about 90% of the maximum value. There are two ways to do this:
- driver installation;
- installation of a quenching resistor.
The first way is more suitable for advanced radio amateurs.When choosing the second one, we calculate the resistance according to the formula Radd \u003d (Usupply-Uwork) / (0.9 * Ipr).
Important! After assembly, it is better to measure the actual resulting current in the LED power circuit and select the resistor value more accurately.
Next, we take out the board with the already installed elements from the flashlight and select new UV LEDs according to their characteristics and size - the closer the dimensions and design, the easier it will be to solder.
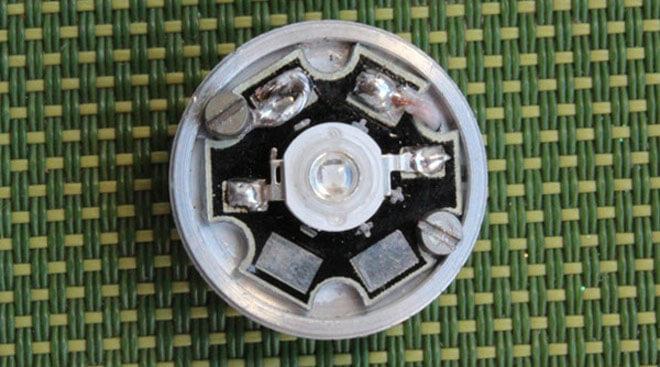
Old elements must be unsoldered (or carefully bitten out if further use is not expected), being careful not to damage the board. In their place, install ultraviolet emitters, solder a resistor.
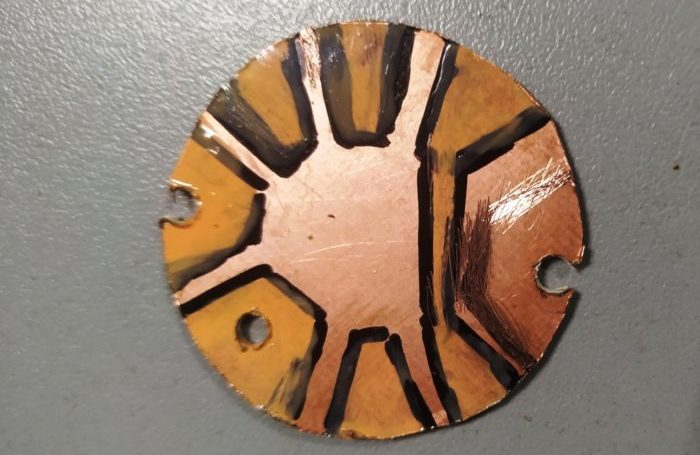
If it was not possible to remove the LEDs without damaging the board, it is easy to make a new one. To do this, you need a blank of foil textolite (one-sided or two-sided). From it it is necessary to cut the board in the form of a regular one, outline the holes for the fasteners and make a markup according to the number of LEDs planned for installation and their shape. Do not lose sight of the fact that one of the fastening screws is also the minus contact of the power source, so a platform must be provided for it. Also, do not forget about the hole for the wire from the positive terminal of the battery.

Paths can be cut, or you can paint with varnish (for nails, etc.). Advanced craftsmen can apply a board pattern using the LUT method or photoresist. It will turn out neater and more beautiful, but the complexity will unreasonably increase. Then the board must be etched in ferric chloride or a solution consisting of:
- 100 ml of hydrogen peroxide (sold in pharmacies);
- 30 g of citric acid;
- 2-3 teaspoons of table salt.
Next, you need to solder the LEDs (observing the polarity) and the resistor to the regular places and assemble the flashlight.
Important! When reassembling, you need to pay attention to the material from which the "lens" is made, covering the compartment with radiating elements. If it is glass, it is not recommended to put it in place - it greatly weakens the UV flux. Plastic "lenses" absorb ultraviolet much less.
It may happen that the required power of the lantern exceeds the possibilities for installing power elements. If you do not need autonomy (use only indoors), you can arrange power from a network adapter designed for increased current. To do this, you need to purchase a power supply and a mating connector to it. The reciprocal part is installed on the lamp body in any convenient place. There are many options for male and female sides of the connectors and their designs, so the method and point of installation depend on the body of the flashlight and the imagination of the master.
The key point is that from the original lamp there was only one case with an empty battery compartment. It may turn out to be inconvenient and cumbersome, it can be replaced with a home-made casing made from improvised materials, or you can pick up (buy) a ready-made case, and prepare a board with radiating elements for it. The design of the flashlight will be completely exclusive.
Video: Quickly make a UV flashlight from an ordinary LED
Simulated UV light
Sometimes it is not a source of ultraviolet that is required, but its imitation - to create visual effects. Here, UV radiation will not help, since it is invisible (although in everyday life there is a fundamentally wrong term - visible ultraviolet). The easiest way to do this is in two ways.
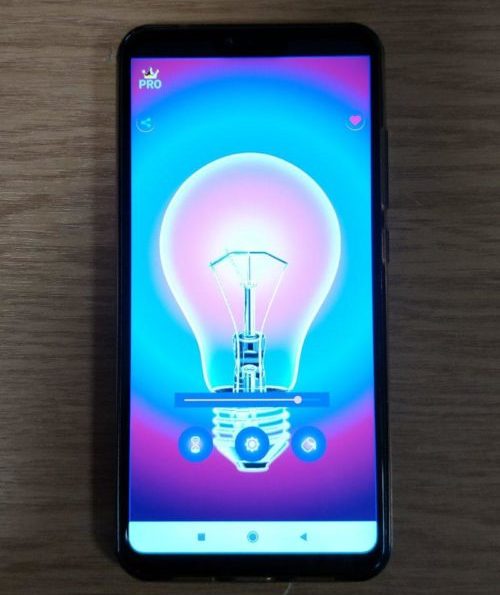
On the phone
The first way is to use special applications that control the color of the display glow. Most users agree that the quality of the glow in this case is low. Although a lot depends on the type of screen.
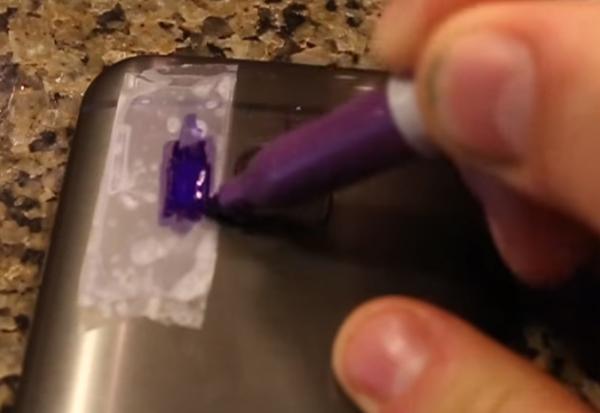
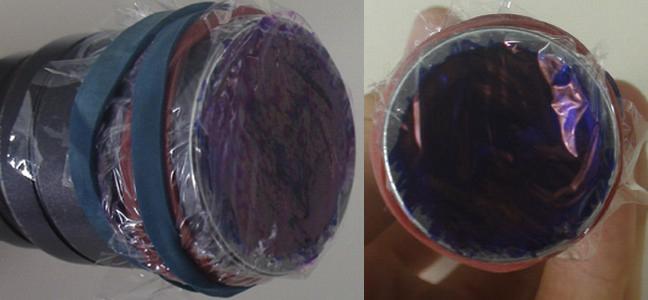
A more efficient way is to use your phone's flash. The spectrum of its radiation captures the ultraviolet region. To select this area, you need to make a simple filter. To do this, glue the flashlight of the smartphone with transparent stationery tape and paint over it with a marker of a suitable color (blue or purple). On top, you can stick another layer of transparent tape - to protect the filter from mechanical stress. To better match the color of the radiation by experiment, you can make a multilayer cake from pieces of adhesive tape, painted in different shades. But we must remember that each layer absorbs part of the light and reduces the brightness.
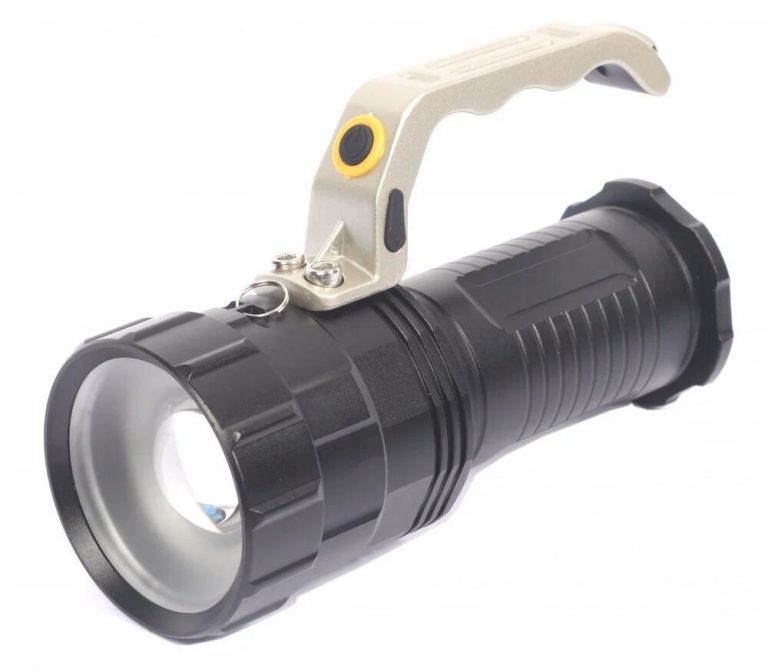
On a regular flashlight
The same method is suitable for a conventional hand-held LED flashlight. In this option, ordinary polyethylene can be used instead of transparent tape. Even a lamp with an incandescent lamp will do, but its emission spectrum is shifted to the red region and the intensity of the violet radiation will be negligible.
It is not difficult to get a home UV source or simulator device yourself.Skillful hands and a little imagination - this is enough for success.