What are raster fixtures and how to install them
What are raster lamps
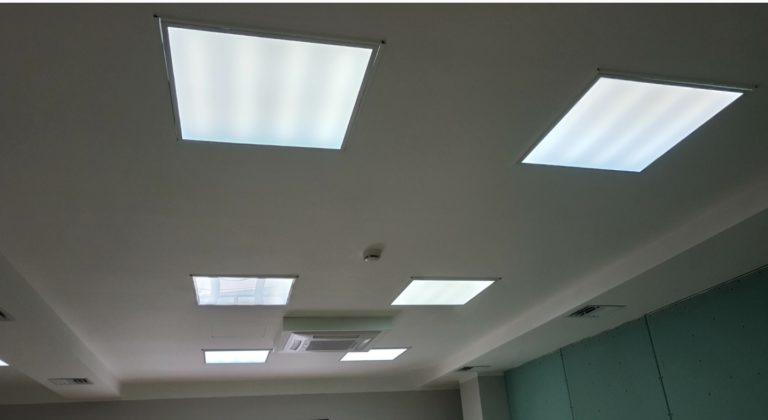
A raster lamp is an electrical lighting device that has a raster light reflector in its design. They are usually used as ceiling lights.
The word "raster" comes from the German "raster", which translates as "lattice". The design of the luminaire is based on a wavy mirror reflector with a frame grating, through which light flows are scattered throughout the entire volume of the room. At the same time, the grille also protects the lamps from falling out of the device body.
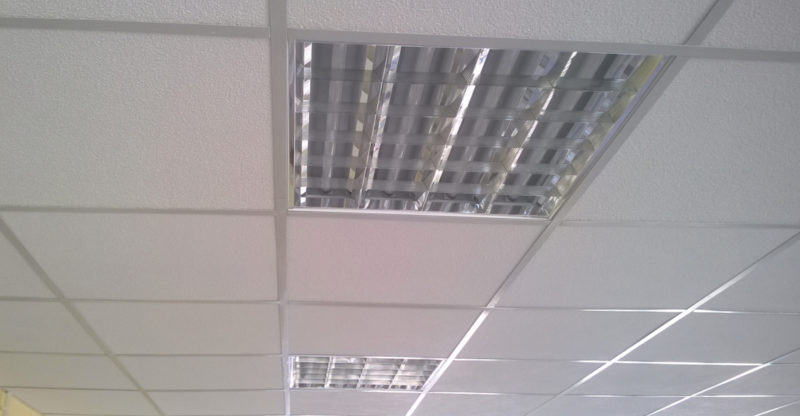
Installation of raster lamps is possible both on ordinary and suspended ceilings.They are mainly used for lighting public and industrial premises - offices, shopping and concert halls, workrooms, medical institutions, classrooms, industrial workshops, cafes, bars, entertainment complexes, etc.
Advantages and disadvantages of using
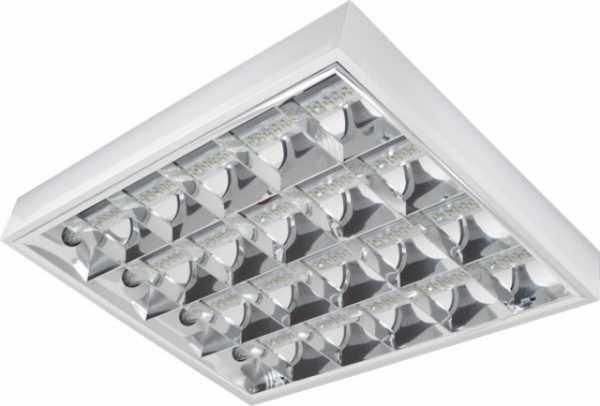
Externally, raster illuminators are made in elegant aesthetic forms with a laconic design. At the same time, they have a number of significant technical and user advantages compared to other types of lighting products.
- high efficiency and uniformity of light distribution;
- a wide range of light fluxes with a scattering effect at an optimal illumination density without pulsations and flickering;
- create a favorable and comfortable microclimate for a long stay indoors;
- light sources hidden behind the frame grille exclude adverse effects on the vision of light fluxes;
- economical energy consumption due to the use of energy-saving light sources;
- additional protection of LED lamps and fluorescent tubes from external mechanical influences;
- the design promotes free access and air circulation, which eliminates overheating of the product;
- safe and durable in work;
- ease of installation and dismantling on ceiling coverings.
The disadvantages of raster lamps can only be attributed to the fact that they are not customarily used in residential premises. But this drawback is not caused by performance, but by the fact that they are not able to compete with external parameters and design with the variety and beauty of modern chandeliers, wall and floor lamps.
However, the good quality of light and the softness of the scattering effect of economical European models, together with their low cost, find their use at home - in hallways, utility rooms, workshops, garages, etc.
Design features and varieties
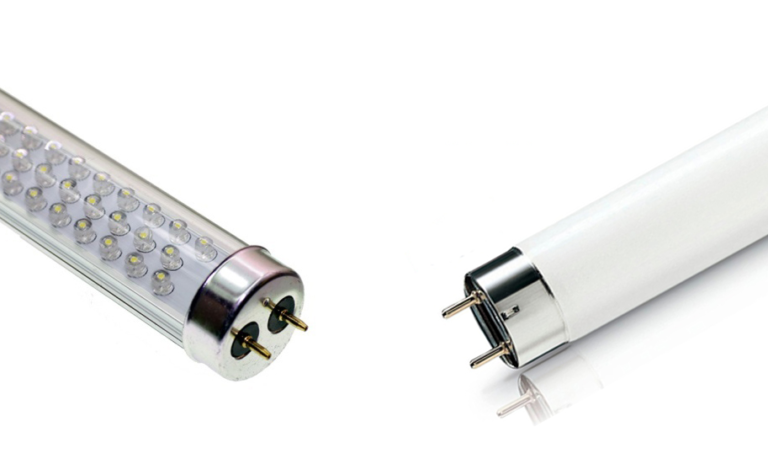
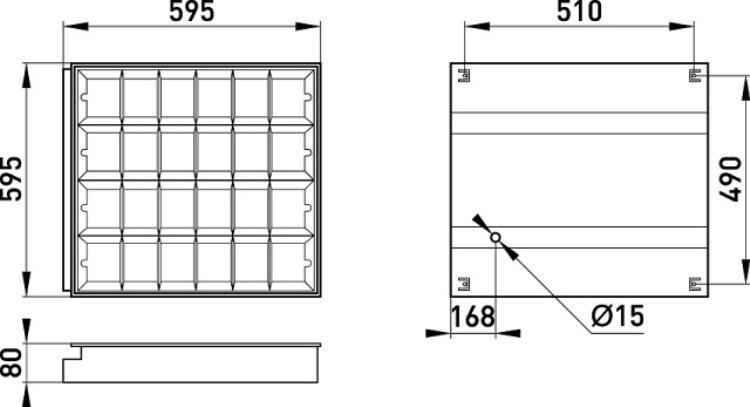
The body of the grid luminaire is usually rectangular or square in shape, made of sheet steel, powder coated in white enamel. The light source is fluorescent tubes or LED lamps.
The main technical detail of the lamp, to which it owes its name and popularity, is a reflective frame grille. It is made using a special technology, most often from thin sheet aluminum plates. The surface of the plates on both sides is covered in several layers of paint by powder coating or anodizing.
The direction, intensity and density of light scattering depend on the shape and configuration of the grating cells. The industry produces about seven types of gratings with a variety of patterns and a combination of cell shapes. In the consumer market, the buyer is mainly interested in the following three options for mirror reflective grilles.
- V-like lattice. The surface of the plates is polished to a glossy or matte finish. Displays a uniform soft diffused light. These gratings are the lightest and relatively inexpensive.
- parabolic lattice from anodized aluminum plates. Such gratings are mounted on large lamps for a high degree of reflection and scattering of light rays. They are mainly used where round-the-clock lighting is needed - hospitals, stations. They give an even, calm light that does not tire the eyes. Well suited for classrooms and offices where you have to work a lot with a computer.
- Double, biparabolic gratings - the most powerful and durable, light reflection is 10-15% more than in other gratings. Provides even illumination without glare or shadows. It is used mainly at production facilities, in industrial workshops with round-the-clock lighting. However, there are also small models with biparabolic gratings, which are mounted in corridors, hotel lobbies, etc.
Depending on the method and place of installation of raster lamps, overhead and recessed lighting fixtures are distinguished.
- Overhead products are mounted directly on the ceiling - plastered or otherwise treated concrete ceilings.
- Embedded models are installed in suspended and stretch ceilings, the luminaire body is not needed here.
Which lamp to choose, built-in or overhead
The choice of one or another type of lamp will depend on the design of the ceiling. The difference between built-in and overhead models is in the way they are attached.
Overhead models are attached to a regular flat ceiling slab through a pre-installed mounting profile. They will protrude above the ceiling surface. It is overhead models that are most suitable for large premises - warehouses, hangars, gyms, exhibition and trade pavilions. Their advantage is versatility, simplicity and ease of installation.
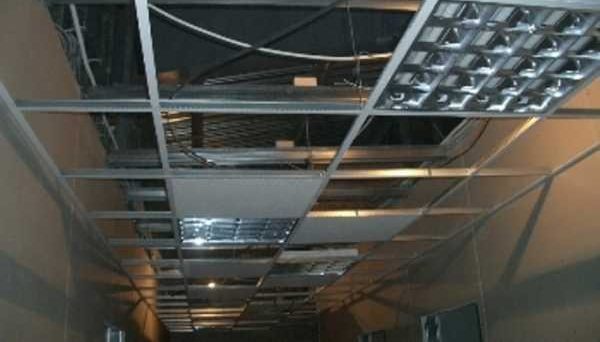
Embedded Models look outwardly like the original design solution of the ceiling, its original part without any bulges. Applicable only on suspended structures, where they are mounted flush with the ceiling plane, while maintaining a flat surface with it.Recessed raster products are a beautiful solution for Armstrong false ceilings, they fit perfectly into the suspended frame sheathed with plasterboard.
Is it possible to install a surface lamp on a false ceiling
Technically yes, though expensive, but possible if done carefully. However, in each case there will be a risk of collapse of the suspended structure along with the lighting system. In this case, it is worth considering how the installation of the overhead protruding model will be in harmony with the suspended ceiling.
Recommended for viewing: Raster lamps in the false ceiling.
What tools are required for installation
It is better to entrust the installation of raster lamps to specialists, they know all the subtleties and nuances of connection, where mistakes can be expensive. But if you decide to do such work yourself, you first need to carefully study the instructions for the device. There is always a detailed diagram of its assembly and installation on the ceiling.
To work, you will need the following tools and materials:
- tape measure and ruler;
- building or water level;
- sealing cord;
- hammer, screwdriver;
- electric drill, a set of drills with a victorious tip;
- hacksaw for cutting metal;
- fixing dowels, bolts, self-tapping screws;
- mounting profiles;
- ladder.
Mounting technology
To install raster fixtures on the ceiling, for example, from plasterboard, use the following algorithm of actions.
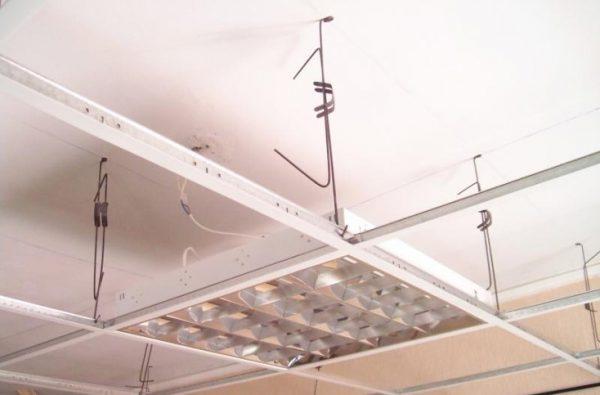
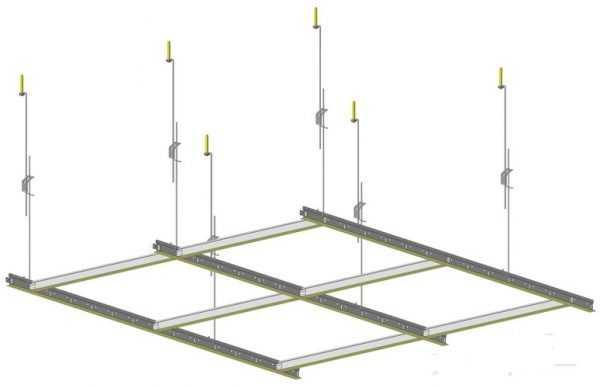
- An aluminum frame is attached to the ceiling, consisting of guides and rack-mount profiles located perpendicular to them. For fasteners, self-tapping screws and suspensions are used.
- They mark places on the ceiling for electrical wiring and the installation of lamps, the markings are also transferred to drywall slabs.
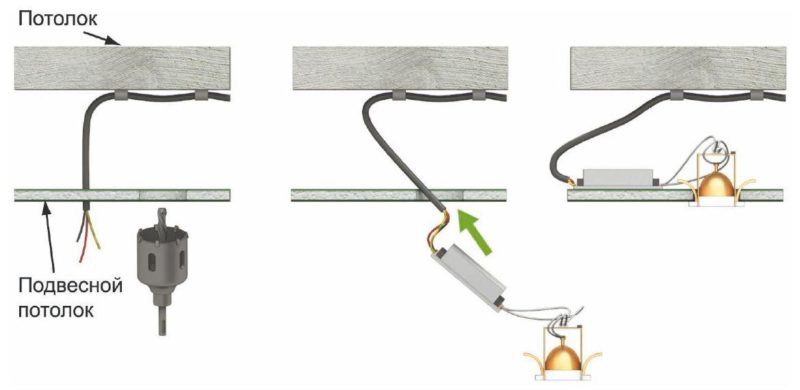
- The wiring placed in the corrugated hoses is brought to the ceiling, in the places where electrical appliances are fastened, a cable overlap of 10-15 cm is left.
- The frame is sheathed with drywall, then holes are cut out in it in marked places with dimensions for the lamp body.
- Through the holes made, the lamp housing is attached to the drywall with mounting brackets. If the lighting fixture is overhead, fix it to the ceiling with self-tapping screws.
Wiring diagram
Each luminaire is connected to the common wiring through a terminal block. It is forbidden to make a serial connection from the device to the device using the terminal block as a distribution block. With a large ceiling area, you need to place a junction box near a group of fixtures and each of them has a separate power wire from the box.
The installation of fixtures is completed by checking for correct connection using a voltage indicator and turning on the system in working condition.